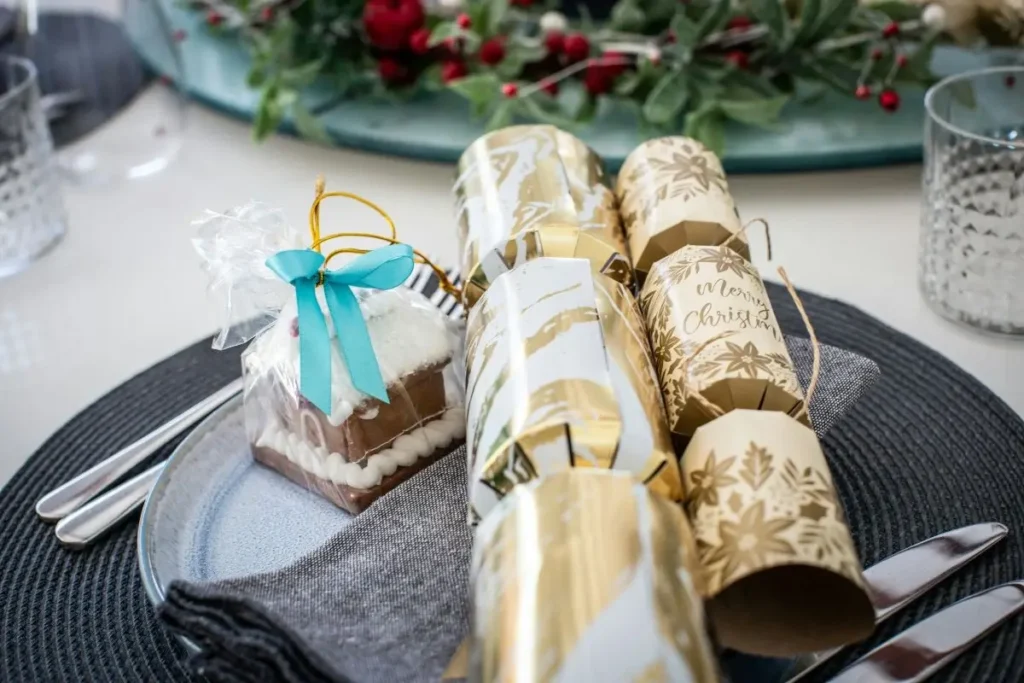
Making Christmas crackers at home is a manageable craft project when you want a small number for a family table, school activity or private celebration. A handmade cracker can match your place settings and carry a personal message, but it should still be assembled carefully—especially if you use a commercially manufactured cracker snap or include small gifts.
This tutorial explains how to make Christmas crackers with cardboard tubes, paper, ribbon and ready-made snaps. It does not explain how to manufacture or alter a snap. Commercial events, retailers and hospitality buyers needing consistent quantities, tested components or printed packaging should use a production specification rather than scale up a domestic craft method.
What is inside a Christmas cracker?
A traditional cracker has a central cardboard barrel, decorative paper with twisted ends, a snap, a paper crown, a motto or joke and a small gift. You can make a cracker without a snap if noise is unsuitable for the venue or guests. The decorative wrapper should be long enough to cover the central tube and form two ends that can be tied without tearing.
The gift must fit inside the tube without forcing it out of shape. Avoid sharp objects, leaking products and unsuitable food. If children will take part, follow the age guidance on every component and exclude small parts that could present a choking risk.
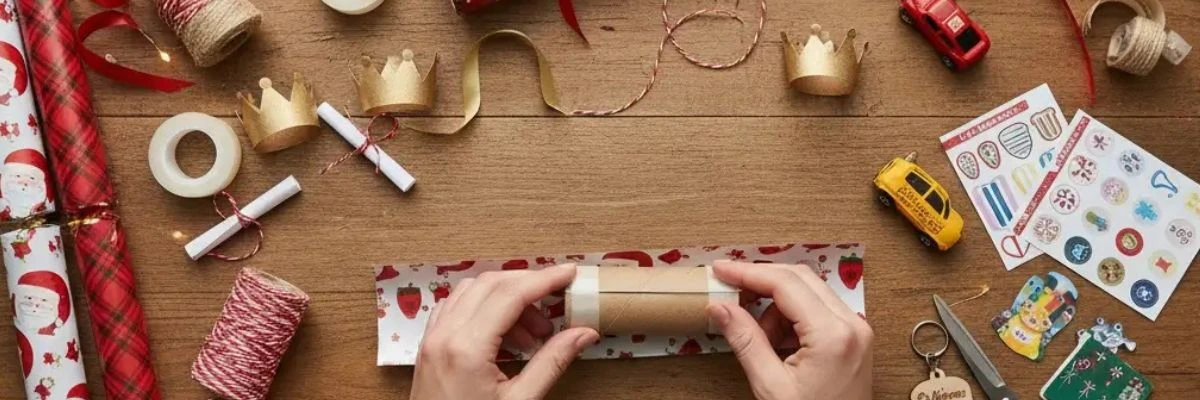
Materials and tools
- cardboard tubes of equal size;
- wrapping paper, kraft paper or another foldable decorative paper;
- commercially manufactured cracker snaps, if required;
- double-sided tape or paper-appropriate glue;
- scissors, ruler and pencil;
- ribbon, paper twine or another closure;
- paper crowns, jokes or personalised messages;
- small, age-appropriate gifts that fit comfortably inside;
- optional place-name labels or paper decorations.
Use a cutting mat and craft knife only if you are competent with them; scissors are sufficient for most home projects. Protect the work surface from adhesive and test decorative pens on an offcut before using them on every wrapper.
Safety before you begin
Buy cracker snaps from a reputable supplier and keep them in their original packaging until use. Do not cut, refill, scrape, heat or attempt to make the reactive part yourself. Follow the supplier’s storage and assembly instructions, keep the work away from heat and open flames, and supervise children.
Rules differ by market. In Great Britain, Christmas crackers are addressed under the Pyrotechnic Articles (Safety) Regulations 2015. If you are selling or distributing crackers rather than making a few for private use, obtain current product-compliance advice for every destination.
The Royal Society for the Prevention of Accidents notes that festive novelties can look like toys even when they do not meet toy standards. Check labels and keep small gifts away from children under three. Consider guests with sensory sensitivities and tell them before using a noisy snap.
How to make Christmas crackers step by step
1. Make one paper template
Place the tube in the centre of a paper offcut. Allow enough paper to wrap around it with a small overlap and extend far enough beyond both ends to create the tied sections. Mark and cut this first wrapper, then roll it around the tube without adhesive. If the ends are too short to tie or so long that they collapse, adjust the template before cutting the rest.
2. Cut the full set
Use the tested template to cut all wrappers. Keep patterned paper facing the same direction if the design has a top and bottom. Prepare crowns, messages and name labels at the same time so that every cracker receives the intended contents.
3. Position the tube and snap
Centre the tube along the length of the wrapper. If using a snap, place it according to its manufacturer’s instructions so it runs through the barrel and extends into both ends. The reactive joint normally sits near the centre, but follow the supplied directions rather than assuming every product is identical.
4. Roll and secure the wrapper
Apply a narrow line of double-sided tape along one long edge. Roll the paper around the tube without crushing it, then press the overlap flat. Secure the snap only in the manner recommended by its supplier; do not place adhesive on the active area.
5. Form and tie the first end
Gently pinch the paper just beyond the tube, then twist enough to create the familiar cracker shape. Tie the end with ribbon or twine. Work slowly—coated paper can split if it is sharply twisted. A neat tie is more reliable than squeezing the paper repeatedly.
6. Add the contents
Insert the crown, message and gift through the open end. Roll the crown loosely so it opens without severe creases. Make sure the gift sits inside the central tube and does not press against the snap. If it does not fit easily, choose a smaller gift rather than forcing the barrel wider.
7. Close the second end
Twist and tie the remaining side. Check that both ends are secure and that the snap extends as required. Trim ribbon tails consistently across the set, but do not trim the snap unless its instructions explicitly allow it.
8. Finish and label
Add a paper band, place name or lightweight decoration. Keep embellishments away from the areas people grip when pulling. If different crackers contain different gifts, label them discreetly so that age restrictions and dietary considerations are not left to chance.
Ideas for crowns, messages and gifts
Home-made crackers are most memorable when the contents suit the guests. Write a short personal message, a family quiz question or a table challenge instead of copying generic jokes. Make crowns from lightweight paper and test the circumference before producing the whole set.
Suitable gifts depend on age and context. Possibilities include a wooden decoration, tea sachet, wrapped sweet with clear allergen information, seed packet, enamel pin or small puzzle. Avoid button batteries, strong magnets and unidentified cosmetic or food products. Never assume an object is suitable for a child because it fits inside a cracker.
Common DIY cracker problems
| Problem | Likely cause | Practical fix |
|---|---|---|
| Paper tears at the ends | Paper is too stiff or the twist is too tight | Test a lighter paper and tie with less compression |
| Barrel looks uneven | Tube is off-centre or paper overlap varies | Mark the centre and use one measured template |
| Gift will not fit | Object is too large or awkwardly shaped | Replace the gift; do not force the tube |
| Cracker does not pull cleanly | Snap or wrapper was installed incorrectly | Follow the snap supplier’s instructions and test one sample |
| Decoration falls off | Adhesive is unsuitable for the paper finish | Test the adhesive on an offcut before assembly |
When DIY is not the right production method
Hand-making a dozen crackers is very different from producing a commercial programme. Retail, hotel and corporate orders require consistent print, controlled components, documented checks, efficient packing and a transport plan. Labour and variation increase quickly when a domestic method is repeated at scale.
If the project needs branded artwork, retail boxes, custom gifts, destination-specific compliance or volume shipping, start with a manufacturing brief. See how custom Christmas crackers are developed and review volume order programmes. These services are for qualified business procurement rather than one-off household orders.
Need a commercial range rather than a home craft kit? Send JollyCracker your business specification, including market, delivery date, estimated quantity, design and packing requirements.